Showing posts with label DIY. Show all posts

Sunday, December 16, 2018

DIY: Produce Bag

Hi!
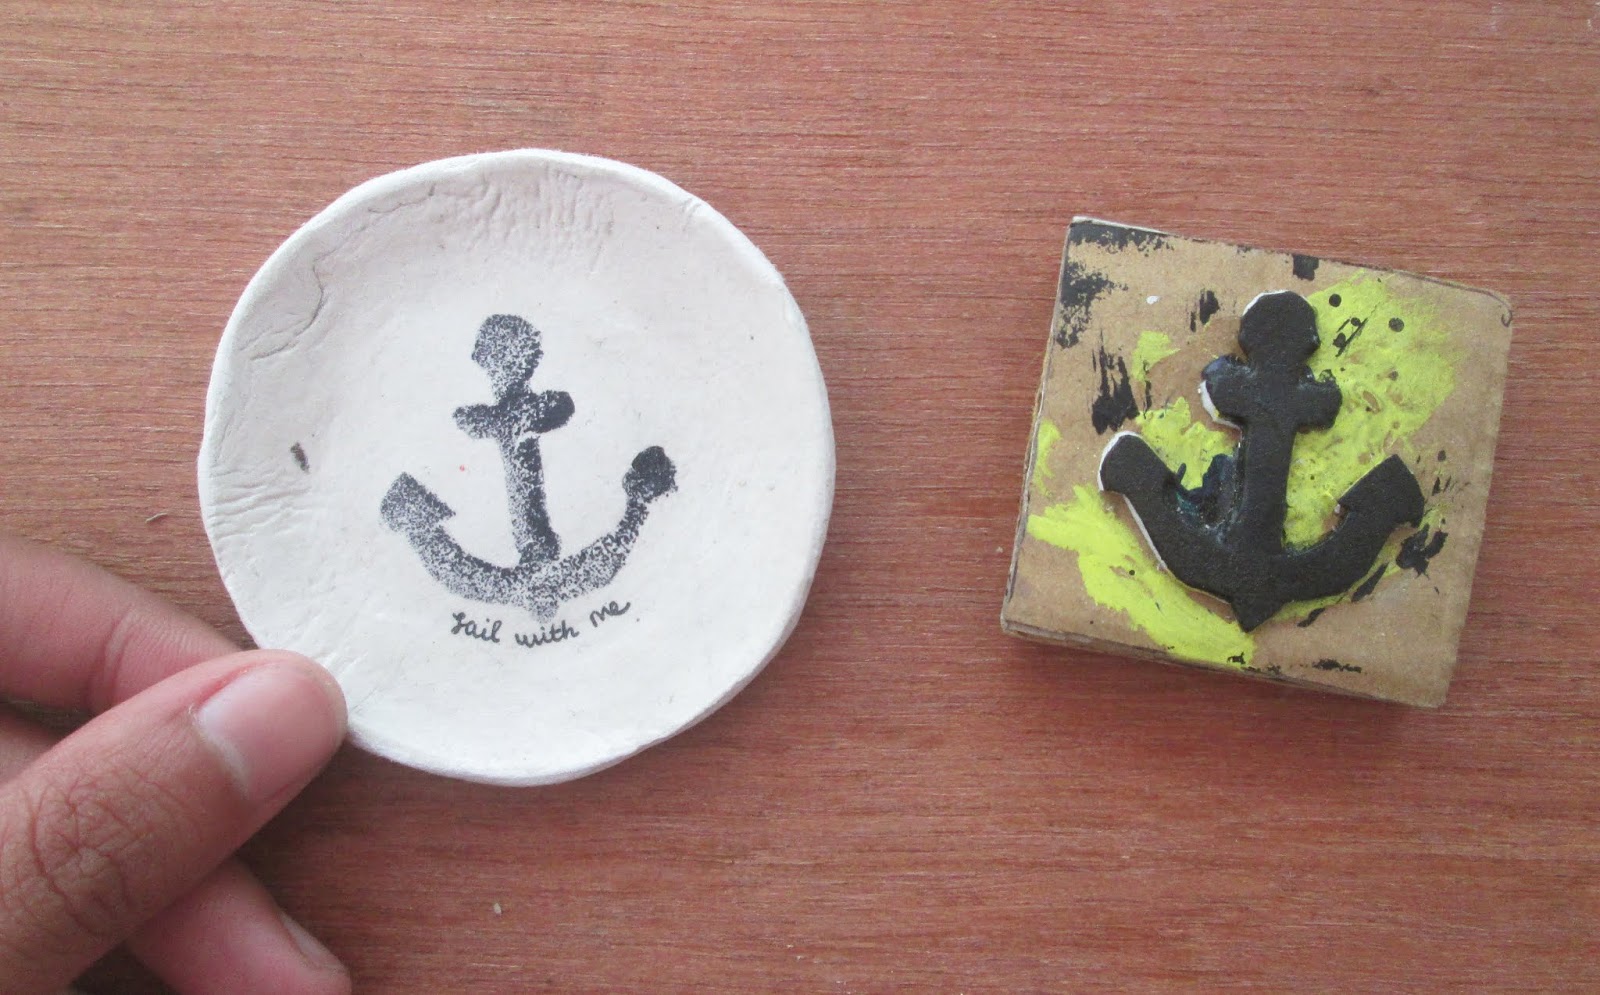
I am back with another do-it-yourself entry~ It’s been a while since I posted about making my own stamp. You can check it here.

So, my sister wants to start less waste lifestyle. I am so glad that I have someone in the family that want to start making an effort. I have been trying to do the same here since couple of months ago, and still learning how to do it. I will talk about it later. Maybe in the future post.

She asks me to sew her some produce bag and large tote bag. Then, I decided to make a little tutorial on how I made the produce bag and the tote bag. If you interested with this project or want me to make one package of produce bag and grocery tote bag, contact me through instagram

Let’s start making!


Materials that I need:
  1. Cotton Fabric: It is a scrap fabric from when I made a lounge pants. I still have some of it and decided to use it instead of buying a new one.
  2. Threads: white
  3. Threads left over from my little business while ago. (I might return and do it again, let see)


Tools:
  1. Fabric Scissors
  2. Thread Cutter
  3. Pins
  4. Sewing Machine
  5. Measuring tape
  6. Marker or pencil
  7. Seam ripper


How I do it:
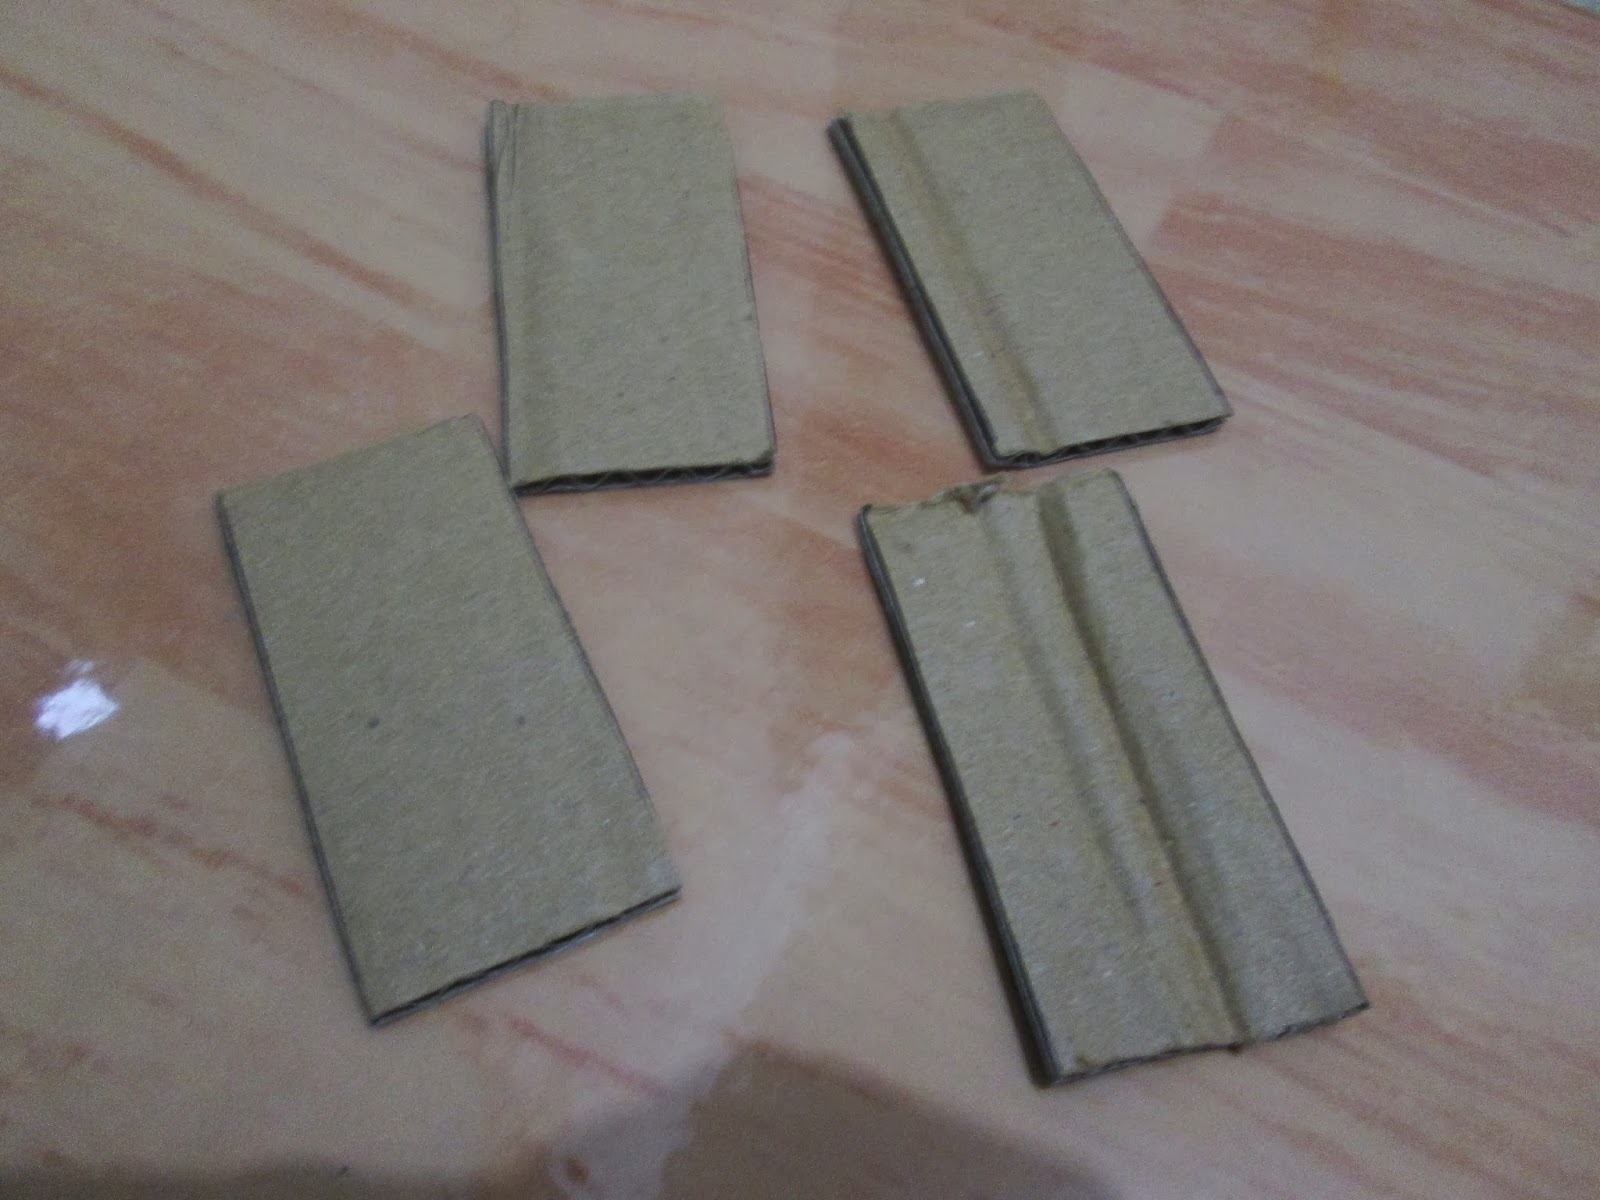
  • I randomly measure three sizes of the produce bag. It is probably around (Large: 36 x 25 cm, Medium: 30 x 20 cm, Small: 15 x 25 cm) I plan to make two for each sizes. I use the cotton fabric and cut it into 4 pieces for each produce bag.
  • Line all the fabric and start sewing. I show how I do it in the picture and scribble below. I wish I could make a video on how to do it. But anyway, this is how I explain to you guys.
I sewn the each top of the produce bag to make a crisp top part

Then, right side facing together, I sewn each side and also the bottom part

Here is how it looks like


  • After that, I make some space for the loop for the drawstring of this produce bag. I use some threads I found in my house.
Finished one.
  • Ta da! Your own produce bag is done


For the totebag I will post it on the next entry. I hope you enjoy reading this. Comment or mention me on Instagram how you make your produce bag.

See yaaaa!

Wednesday, December 5, 2018

O tsuku roi: Repair

Personal photo

I spent one of my sunday noon repairing my old pair of jeans. I have it since I was in Junior high school, it is about 10 years ago. I love this jeans, but I cannot wear it now. There is a hole in the knee! I am dying~ It is my favorite pair. Actually, TBH, I already planning to mend the hole with an old scrap of jeans and some embroidery threads. But, I procrastinate a lot. It is almost 3 months since I start this project. 3 MONTHS! It is the longest time I ever procrastinate a project.

I have no pants left, not in my wardrobe nor in my laundry. I need to do something. I made it and finished the project with proud and pride. You know how it feels when you finish something you think you will never finish? That is how I feel. I randomly stitched some embroidery thread, yellow (my least favorite colors), burgundy, and blues. I have no black thread left, so I need to work this color out.

I posted on my Instagram stories, and my friend told me it is called o tsuku roi in Japanese which means repair. Repairing is not that common today, especially when it comes to clothing. Fast fashion to blame? Or the way we live? When it comes to clothing, I do not own many clothings right now (even the word not many cannot guarantee I only have ten pieces of wardrobe). It is one of way to live conscious life. I know it is far from less waste or zero waste lifestyle. But it is my effort to be more conscious about what I left behind.

Clothes, who does not tricked by the fast fashion and how cheap you can get to style yourself, right? You can follow the latest trend and own a fashionable clothes only for hundred thousand rupiahs even less in some store.

According to Merriam Webster,
“Fast fashion is an approach to the design, creation, and marketing of clothing fashions that emphasizes making fashion trends quickly and cheaply available to consumers”

The term quickly and cheaply will be the highlight to this meaning. I have watch a documentary about how fast a fashion industry today. Even, in one of famous fast fashion brand, they could change the whole wardrobe in their etalage every three weeks if I am not mistaken. When we buy something/ clothes, have we ever think how many times we use it? How long it will last in our wardrobe? I have seen many clothing items have been thrown out, and the sad thing is we cannot easily recycle it. I am not trying to judge you or everyone who into the fast fashion, I guilty as well, I bought stuff from those brands. I just wondering, how can we change the way we consume something. How it will be impacting our lives?

Personal Photo

I want to learn and be more grateful for what I have. Repairing a pair of jeans that I wear almost half of my age now is a kind of respect on how it is ended up in my closet. A labour that spend his lifetime making those jeans, from cutting the fabric, dye the jeans, and pack it up. Also, a journey way before that material came into the fabric. I guess, repairing one pair of jeans will not harm me at all. It is helping healing myself at the same time.

A pair of jeans that come to live and stay with me for another years.

Tuesday, June 5, 2018

Resep Kue Lebaran Andalan Keluarga

Photo: Pexels (Josh Sorenson)


Halo semua, gimana puasanya? Sudah ada yang batal belum nih?
Semoga puasa dan ibadahnya lancar ya di bulan Ramadan ini.

Nggak kerasa lho sebentar lagi kita bakalan menyambut Idul Fitri, gimana persiapan kue - kue buat menyambut tamu kamu. Di post ini, saya bakal bagi sedikit resep kue kering yang saya dan keluarga selalu buat menjelang Idul Fitri. Setiap tahunnya ada beberapa kue yang wajib saya dan kakak - kakak saya buat contohnya ada Kastengel, Nastar, Goodtime, Kue Kacang sama beberapa menu baru yang kayaknya 5 atau 6 tahun belakangan ini juga meramaikan meja ruang tamu di rumah Ibu. Kalau favorit saya itu Goodtime sama Chocolate Stick doooong, semua berbau coklat itu emang selalu bikin hati senang gak sih. Tapi tapi, yang berbau keju juga gak kalah bikin hati meleleh kaaan.

Hari ini mau share resep Kastengel yang kami bikin menjelang lebaran. Siapa tau tahun ini kamu ada rencana mau bikin kue sendiri. Berikut resepnya ya.

Resep Castengel

Bahan:
-Margarin 500gr (Blueband cake cookies)
- Gula halus 3/4 cangkir
- Vanili secukupnya
- 6 kuning telur
- Maizena 3 sdm mujung (optional)
- Butter 5 sdm (optional)
- Susu dancow putih 1 sachet (optional)
- Keju edam parut 3 sdm mujung, sesuai selera
- Keju cheddar parut 1,5 kotak
- Tepung terigu 1 kg

Garnish:
Kuning telur untuk olesan
Keju parut

Cara membuat:
1. Mixer semua bahan kecuali tepung hingga putih mengembang.
2. Ambil adonan secukupnya campur dengan tepung sedikit demi sedikit hingga bisa dibentuk. Giling dengan rolling pin ketebalan 0.8cm, cetak dengan cetakan castengel. Lakukan sampai adonan habis.
3. Oles kuning telur dan kasih keju parut diatasnya.
4. Panaskan oven, panggang hingga warna kecoklatan.

Photo: Dokumentasi Pribadi

Yaaaas, gampang banget kaan. Semoga resepnya bermanfaat ya. Hehehe. Kue - kue ini nggak cuma bisa jadi suguhan di rumah kamu lho, bisa juga jadi bingkisan buat orang - orang terdekat. Sesuatu yang dibuat pakai hati pasti sampai juga ke hati.

Cheers,
M

Sunday, May 27, 2018

DIY: Easy Personalised Stamp


Selamat berpuasa people!!

It has been quite a long time since I wrote about Do-It-Yourself post. During Ramadhan, I prone to lay on my bed all day long, especially when today is weekend.

But Ramadhan is no excuse to lazy out all the time. I remember about my DIY stamp and plan to make more of it for my bullet journal! Wuhuuuuu. So, if you curious or need reference for activity during Ramadan, stick around ya.

All the things that you need:
1. Scissors
2. Cutter or x-acto (optional)
3. Glue gun with glue
4. Eva sponge
5. Pencil or pen
6. Used Cardboard, Woods, or other material you can use as the base of the stamp

I forgot to put the glue gun here, but anw you can use your kind of glue as long as it will stick the sponge to the base.

I think this DIY is no brainer and it turns out really cool. You can spend your time with your little sisters or brothers, even with your kids making this easy DIY stamp. You should keep an eye on the use of scissor or cutter while making this with little human, kay?


First thing you have to do is draw the design on eva spons with pencil or pen. You can use whether scissors or x-acto to cut the design. I randomly drawing on the sponge, or if you find cute illustration on the web you can print it out and use it as your guidance. To make details, you can use the x-acto. After the design was cut, now you can glue it on whatever surface you wish (they act as the base of the stamp). I use old cardboard boxes I could found gather around the studio.


Tadaaa! It is done! Let’s see how it turns out in my bullet journal.

The left one is a bunch of triangles while the right one is a home

I think I will come up with another DIY post.

See yaaa!

M

Tuesday, December 10, 2013

DIY: Stamps

Today, I made some bracelets for my friends. Then, I remember that R brought me some craft foam. So, I decided to make some stamps from that foam. I need to figure out how could I replace wood for the stamps, my choice is to stack some cardboard. So, I will show you how I make my own stamps. Enjoy!

Supplies and Tools:
 
Craft foam, Cardboard, Glue, Ballpoint, Scissor, Ruler

How:
Draw the craft foam as you wish, I draw triangle

Cut the foam

I need this big of the cardboard for my design. Cut 4 cardboard
Stack the cardboard onto one another by using glue

Glue the foam into the cardboard

Voila! Your stamp is ready! :)


Popular Posts

Featured Post

Hutan Indonesia, Mengambil bagian untuk Melestarikan

Bulan Agustus tidak hanya bulan bersejarah bagi kemerdekaan Indonesia tapi ada hari penting yang patut diingat, digaungkan, dan juga diberit...